









An Afternoon with Beale Paddles, Part One: Norsaqs
SSTIKS fixture and master paddle carver Don Beale chats hardwoods, workshops, and how to carve a norsaq.

I recently had the pleasure of visiting Don Beale and Joanne Barta on their 45 acres outside Silverton, Oregon. We chatted extensively about paddles, norsaqs—the subject of this post—the past and future of SSTIKS, and a lot else. In the background: a visitation of boxelder bugs, cow-calf separation, irrigation, burn piles, raptors, a construction crew. Although well into October, the days were hot and bright, a welcome reminder of Summer.
For those that don’t know him, Don began carving paddles in 1999, and after some experimentation to come up with a good first set of lines, set-up shop as Beale Paddles. More than a quarter of a century, and nearly a thousand paddles later, it’s safe to say he's learned a thing or two.
While I was visiting, Don finished Beale Paddle #940, made from a solid piece of western red cedar, and began work on #941 made of cedar laminations with cottonwood edges. A forthcoming blog post takes a closer look at these paddles, and a few of the lessons and experiences incorporated in his latest designs and methods.
In addition to nearly a thousand custom paddles, Don and Joanne share a commitment to teaching others, and sharing what they know. They regularly hold paddle carving workshops. Don estimates that around six-hundred people have participated in these workshops, yielding as many more paddles.
First: a few norsaqs, and their stories
Patrick McMurchie: Bob mentioned these norsaqs that you made on a Vancouver Island trip. Maybe it was Nootka Sound or the Broken Group.
Don Beale: We went to the Broken Group Islands, and there was a pallet that had washed up, and the wood was beautiful. It looked kind of like zebra wood. So I took a drawknife or an axe or something, and I brought home a couple pieces of this wood and made norsaqs for everybody.
I have no idea what species it is, but that was the most unpleasant wood I've ever worked. It was awful. It burned your nose and eyes if you got the sawdust in it. And it was hard to cut. I think it might've had a lot of salt in it and that might be what did it.
But the norsaq is real pretty.
Patrick: And then there are quite a few norsaqs in that collection that that were engraved by the participants in your carving classes. There's one from Japan. How did that come about?
Don: I'm not sure I remember exactly how it came about, but we, I think Greg [Stamer] and Dubside were going to the first GUTS. And so that's how Eiichi [Ito] heard about me. I didn't make it to GUTS, but I went and we did a paddle carving class in Japan.
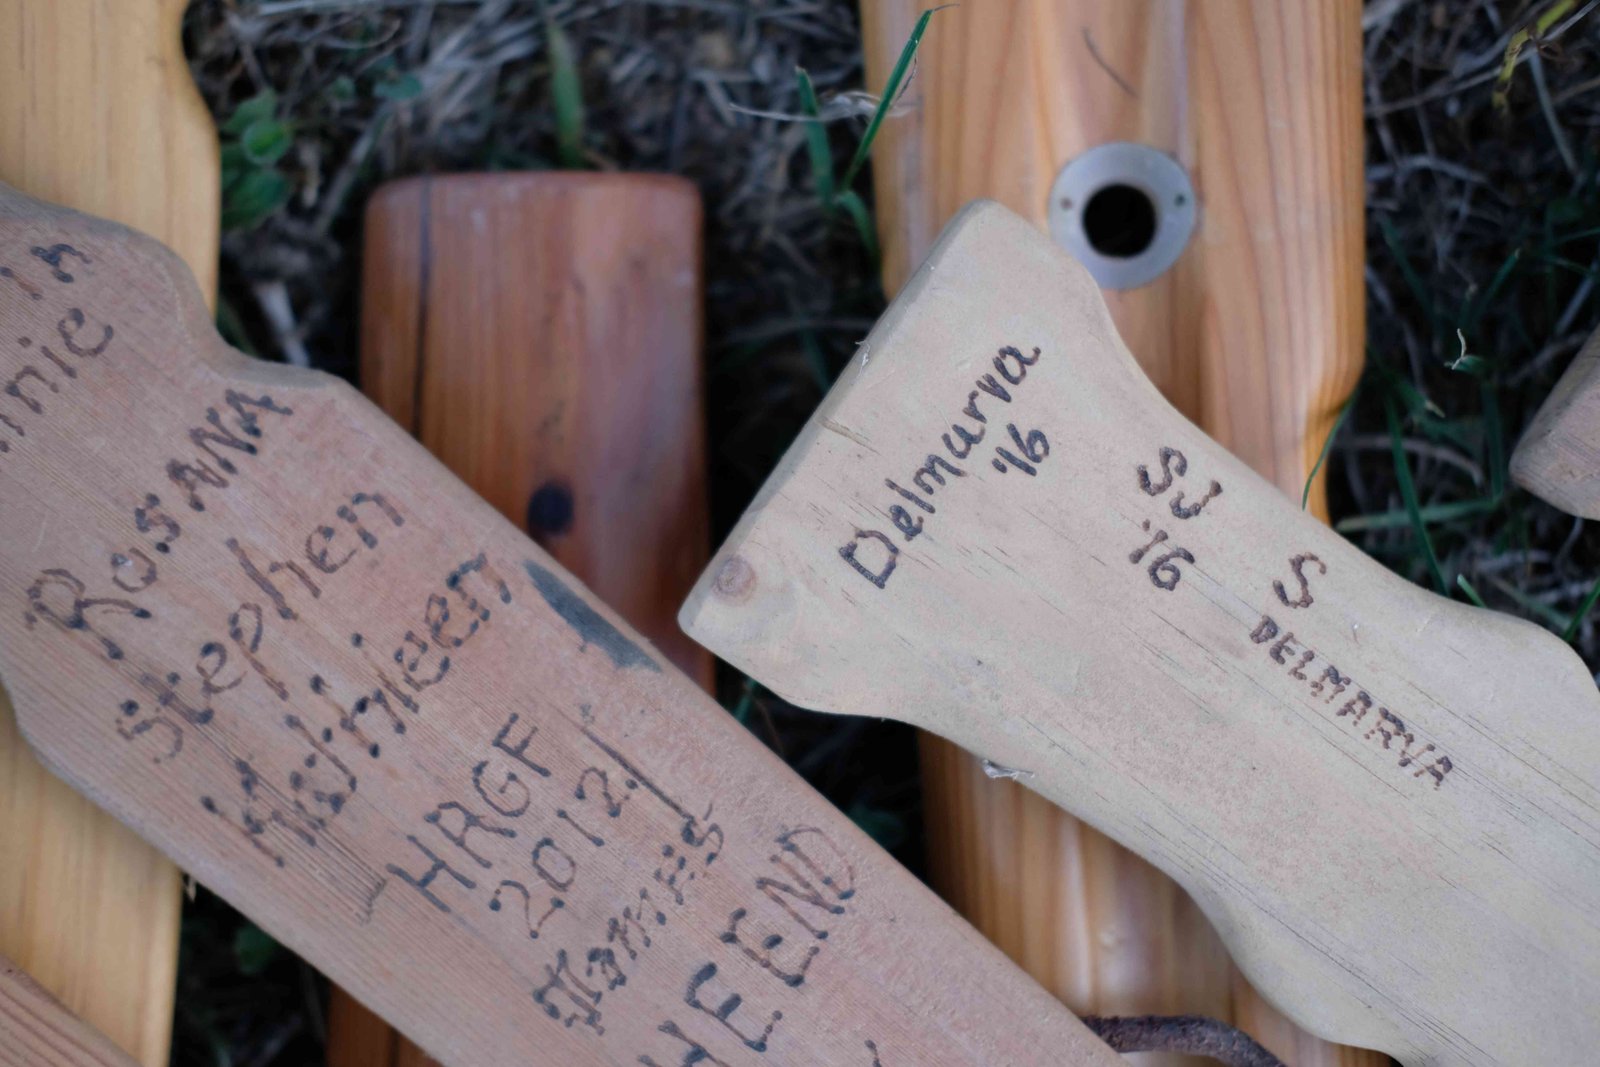
At that time I was making a norsaq for every carving class, thinking it would be fun to have them engrave their name on the norsaq. So, I've got a pretty fair collection of carving class norsaqs, and that's one of them.
Patrick: Where did you hold the carving class?
Don: What was the name of the town? It was where Eiichi Ito lived. Futtsu, I think.
Prior to that, I'd gone to Japan with Intel, and we were at Ebara [Japanese conglomorate —PM], which was near Mount Fuji in another town I can't remember the name of. We were about an hour and a half by train outside of Tokyo. Eiichi is another hour, hour-and-a-half on the other side of Tokyo.
We were there for a week or so, so I posted on the QajaqUSA forum and said, "Hey, I'm in Japan. And, and turns out I've got a little bit of time—is there anybody around here who is on the forum?"
And that's how I met Eiichi. So that was very cool. He invited me out to Tokyo and I stayed at his house and that's how we got to know each other.
He's got this place now, the storm shelter and he had a club there, and they had a little clubhouse right on the shore, where we did the carving class.
We went paddling along the coast, which was very interesting and different. I was interested to see everything, and of course they've seen it a hundred times.
And I'm like, "Well, what are these big jacks-like concrete things?" They do that as a breakwater for the harbor entrance, like we use rocks. you know? So it breaks the waves, and it's actually a very good design.
So that was cool. And I'm wondering: "well, what's around the next corner?" And they're looking at me funny, and it turns out the next corner looked the same. Finally I got it. I'm like, "Okay. The next corner's gonna look the same as the last several."
So we stopped at a beach while we were paddling- And there's, there's these little fish. I don't know what they were. But all the Japanese are scooping up these fish and putting them in their water bottles.
So okay, I scooped up a bunch of fish and put them in my water bottle and we went and we cooked them over an open fire. They, they were maybe two inches long—little fish. They were quite tasty. No idea what they were, but quite tasty.
Patrick: When was this?
Don: Well, it was a year before—I think—Eiichi came to SSTIKS and it was a year or two before we went to Argentina and there's an Argentina norsaq out there that has a date on it.
Don: So, I had met Eiichi and known him, and Eiichi knew Ronnie Meyer and Ronnie put together a symposium in a little village, Valle María which was quite a little drive outside of Buenos Aires.
So they invited me to do a carving class there and I said, "Well, yeah, we'd love to come. How are we gonna get the blanks and everything?" Shipping material into Argentina was astronomically expensive. There was an import tax of something like 600%.
Patrick: For the reader, when you do a carving workshop you bring paddle blanks, so the outline of the paddle is established and the bulk removal is already done, using machine tools.
Don: I make the blanks ahead of time and ship them out. So in the discussions with Ronnie, he asked, "Well, what do you need to make the blanks?" And we went over all that and he said, "Okay, we can make that happen."
And, and then of course Joanne was like begging, you know, "Can I go too? I'll work, I'll help…. I'll, pay for the whatever." And Ronnie just said, you know, "Come." [He was] very gracious.
It was a long flight, 19 hours or so to Buenos Aires, and then another five hours driving up the river to this little village in Argentina.
And we get there and I'm looking around, and there's no band saw. Where's all this stuff we discussed, you know? It's nowhere to be seen. And I don't want to be rude and say "Well, what..."
So the first day goes by and nothing, and the second day. Eiichi's building boats and I had brought all my hand tools, so he was using, you know, all the hand tools for the boats. And finally I couldn't hold back and asked Ronnie: “what's going on here? How are we going to make these blanks?" And Ronnie said "oh, don't you worry."
It turned out that Ronnie knew somebody there who ran a flooring business, and they owned a forest of Brazilian pine somewhere way up north, and they had a whole warehouse full of this Brazilian pine, which is just beautiful wood. A little bit heavy, but it made nice paddles.
We went to make the blanks, and they've got a band saw in this shop with wheels on it about three feet in diameter, and the thing is, you know, 12 feet tall and has a throat on it about 24 inches and God knows how much horsepower.
They had a jointer that’s 12 inches wide with a digital readout and you just set it to whatever. I asked, "Well, how much, how much material can this thing take off in one pass?" And he goes, "Oh, 20 millimeters."—"Oh, okay." So you slide the things across this and you get one perfect surface, and then the thickness planer is the same way.
And then the next day Ronnie comes back and goes “I'm gonna ask you a favor. Can we go make more blanks? We have more people in the class.” I said, "Sure, you know, we can, we can do that.” Well, the guy that owned the shop had paid his people overtime to do that for us. So they came back and said, “Here's how to run the band saw. Here's the dust collection. Have at it.”
And they left us in this gorgeous shop to run the machines. And I was quite flattered when he came back and said: “Well, if you ever want a job, come back.” So then we made the blanks, and we carved the paddles there. It was quite an experience.
We were there for the better part of a week. Eiichi built the boats. And there was an ACA training there for ACA instructors, and paddle carving. And there was a big dinner at the end of the event, and the mayor of the village came and, and did an announcement and a proclamation.
Patrick: When did you come up with the idea of the reversible hand grip?
Don: That was way early on: I'm left-handed. The first time I used a norsaq, I realized, "well, okay, it works great for your right hand, but..." So I tried reversing the, the pattern.
Normally there's two notches, one for your finger, one for your thumb, and that's it. Well, if you reverse those, now you've got four notches and it feels funny on your other fingers.
So then I tried making a spot for the four fingers and for the thumb so that you could hold it in either hand. Yeah. And that worked, but it was a lot of curves. It was really hard to make.
So I took all those other curves out, and that's how I got to the pattern I have: I wanted it to be comfortable held in either hand.
It's been a lot of fun experimenting with pretty norsaqs: myrtle wood. Some of the pieces of juniper you saw out there. I think yours is Juniper.
Patrick: It is, yeah.
Don: The juniper is gorgeous. Zebra wood. This stuff is a lot harder to carve. I generally will use a power tool or a sanding disc to carve them, but you get some really interesting grain patterns and pretty wood, so you could make a norsaq that is, just stands out beautiful for what it is—you don't have to enhance it.
So, there's the chestnut tree, the Lopez pine, the, pallet wood from the broken group. I don't have any more Lopez pine. I’ve got enough chestnut to make about a thousand norsaqs or more.
Patrick: Any other pieces of wood like that?
Don: This place is 45 acres, and I have a lot of toys: a chainsaw, a chainsaw mill, and there's a lot of big trees around here: maple and oak mostly. And then I meet people.
I have some Pacific Yew up there [in the hayloft —PM]. The Chestnut tree was just something that came down and I had a chance to collect. So what I've been doing here is just looking at interesting looking pieces of wood and cutting them up and seeing what's inside.
I've learned a lot about how the grain forms and what it looks like if you cut it this way or that way.
Second: Carving a Norsaq
Don carved two norsaqs while we were together. The first from an prime piece of clear vertical grained Western Red Cedar—easy to work with edge tools. The second from a piece of chestnut, with a more challenging grain better suited to power sanders. We'll look both processes, starting with layout (which is the same).
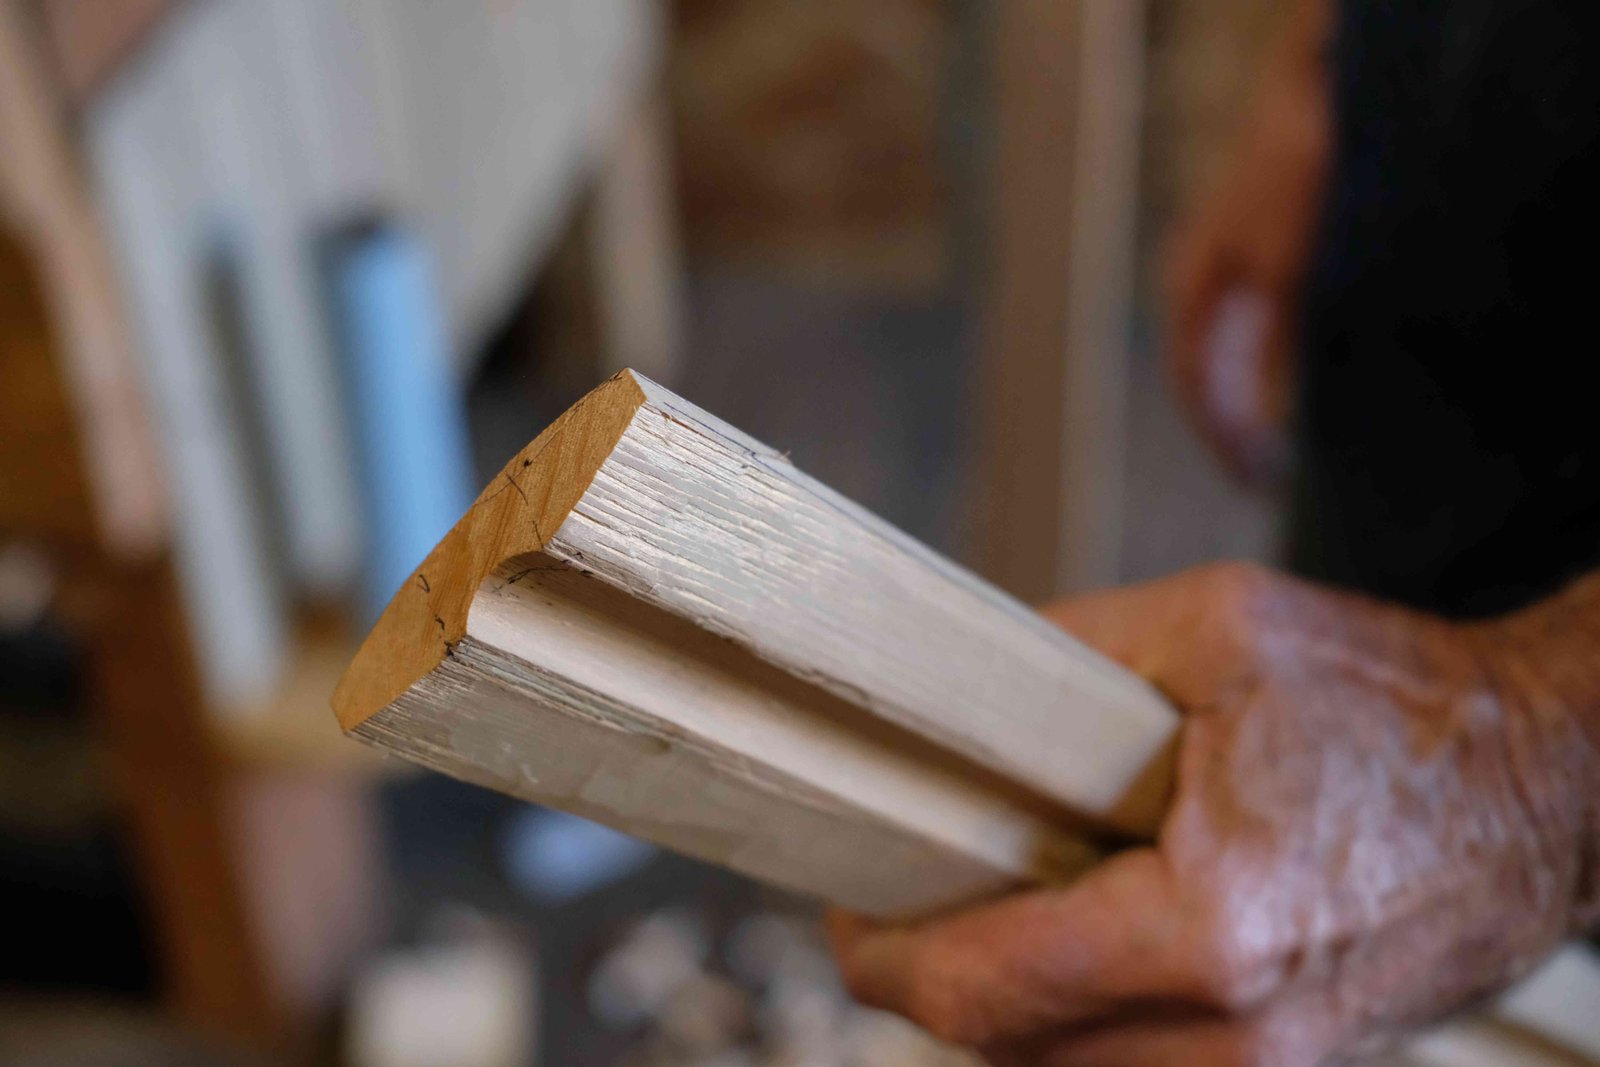
Blanks begin at 3"x16"x3/4". Don routes a 3/4" channel down the center with a core box (round nose) bit. There are other ways to cut the channel, but a router is easiest. Since we aren't paring this norsaq with a harpoon, the exact shape of the channel isn't critical. In our case, the channel gestures at the true use of the norsaq: supporting a harpoon.
Don cuts the tapers with a radial arm saw. Whatever tool you use, the resulting blank should be 2" at the narrow end, 3" at the wide end, 16" long, 3/4" thick. From there we can begin establishing the layout lines that we'll carve to.
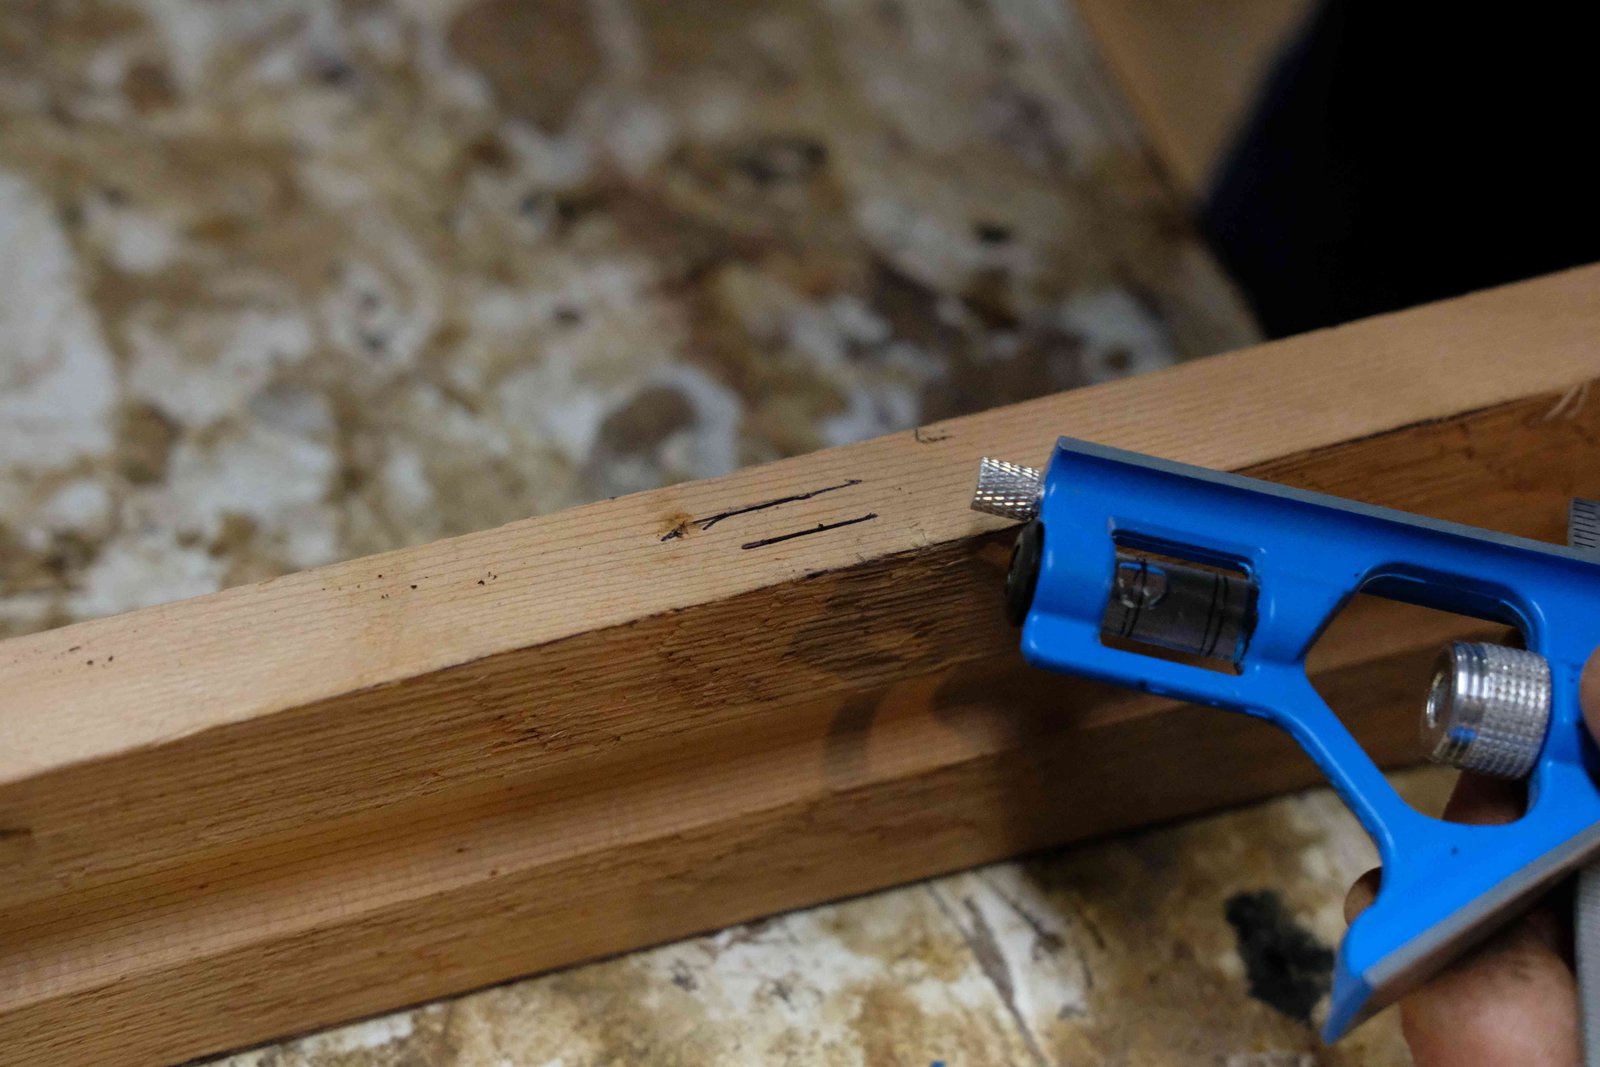
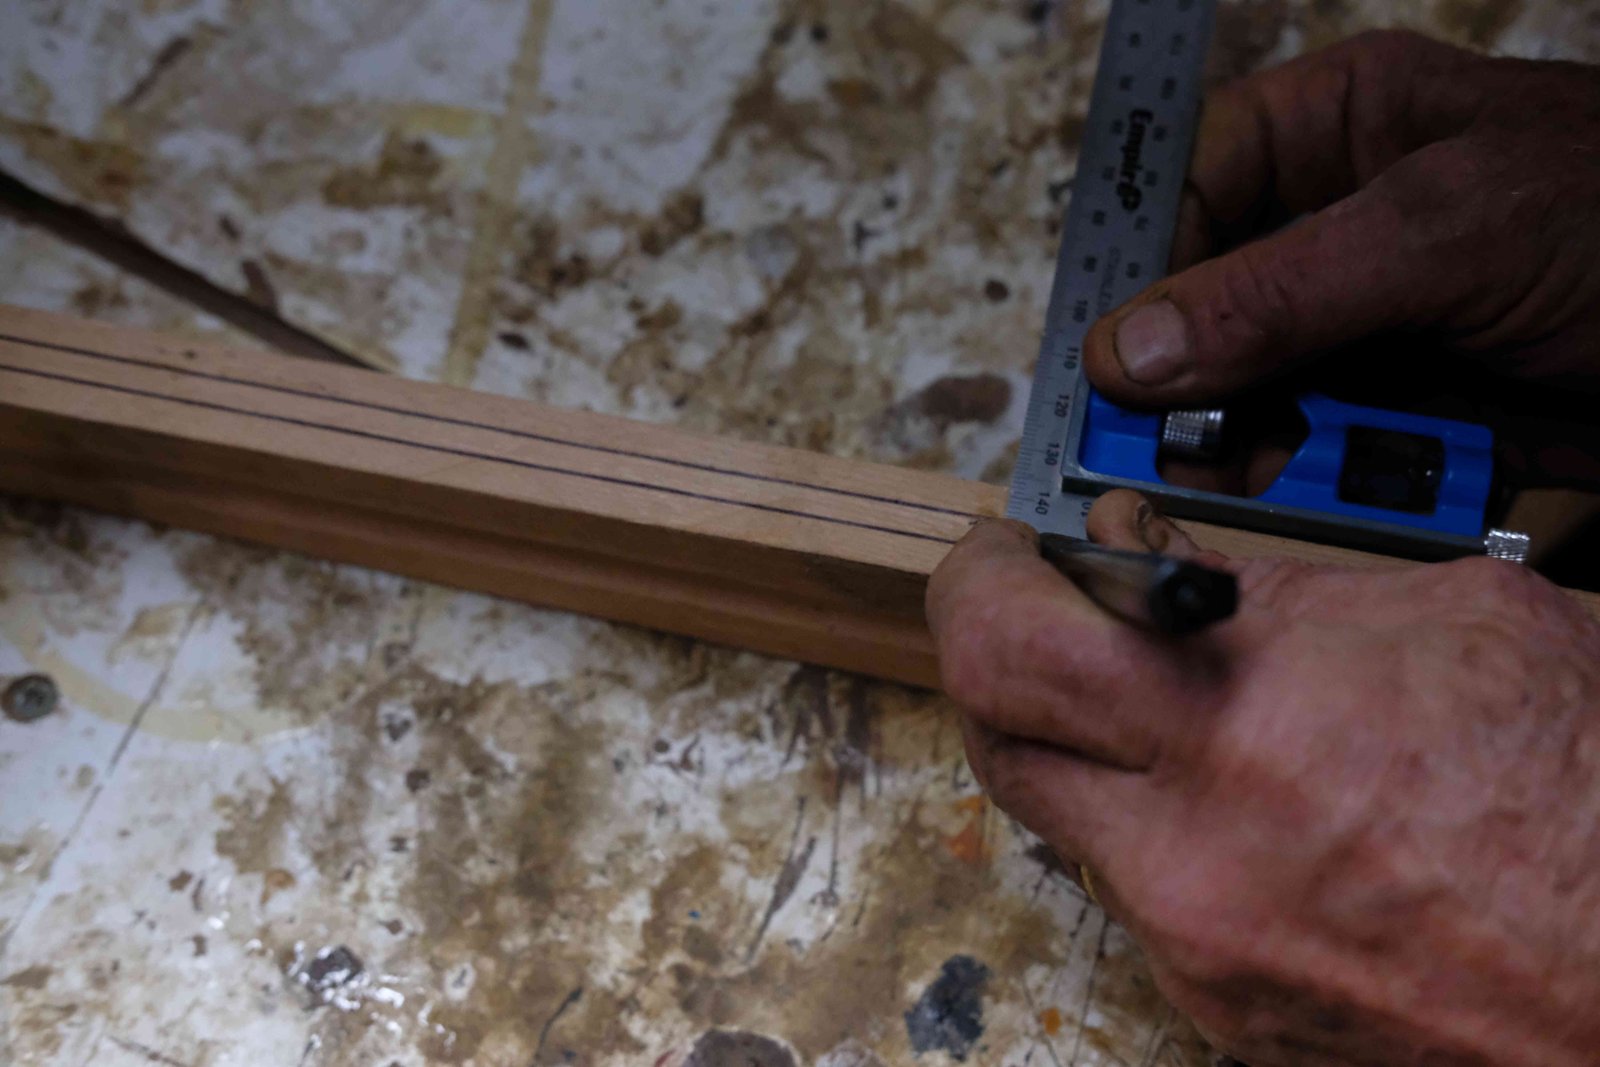
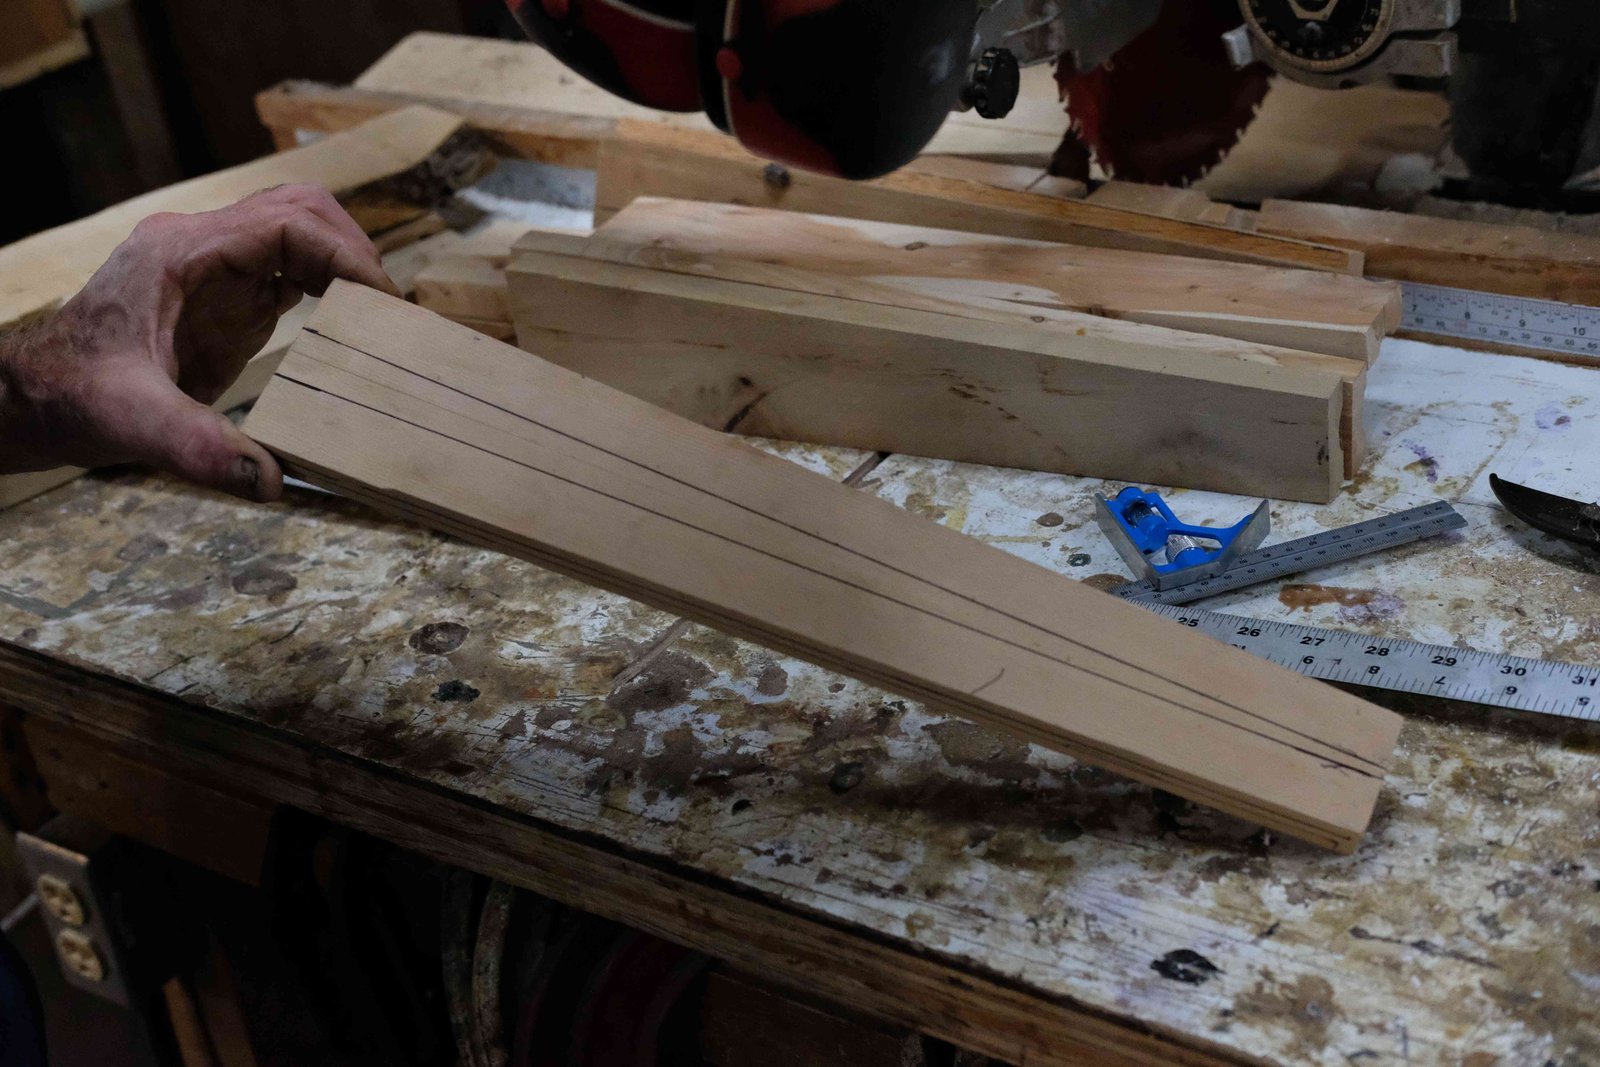
Set a combination square to 1/3 of the piece’s edge thickness. Use it to draw lines along the norsaq’s length, at 1/3 and 2/3 of it’s thickness. Do this along both edges.
At the wide end of the Norsaq, make a mark 3/16" on either side of the center channel. Carry these marks over to the back face of the norsaq. At the short end of the norsaq, on its back face, make two marks about 1/8" to either side of the center.
With these marks established, use a straightedge connect them from one end of the norsaq to the other, as shown.
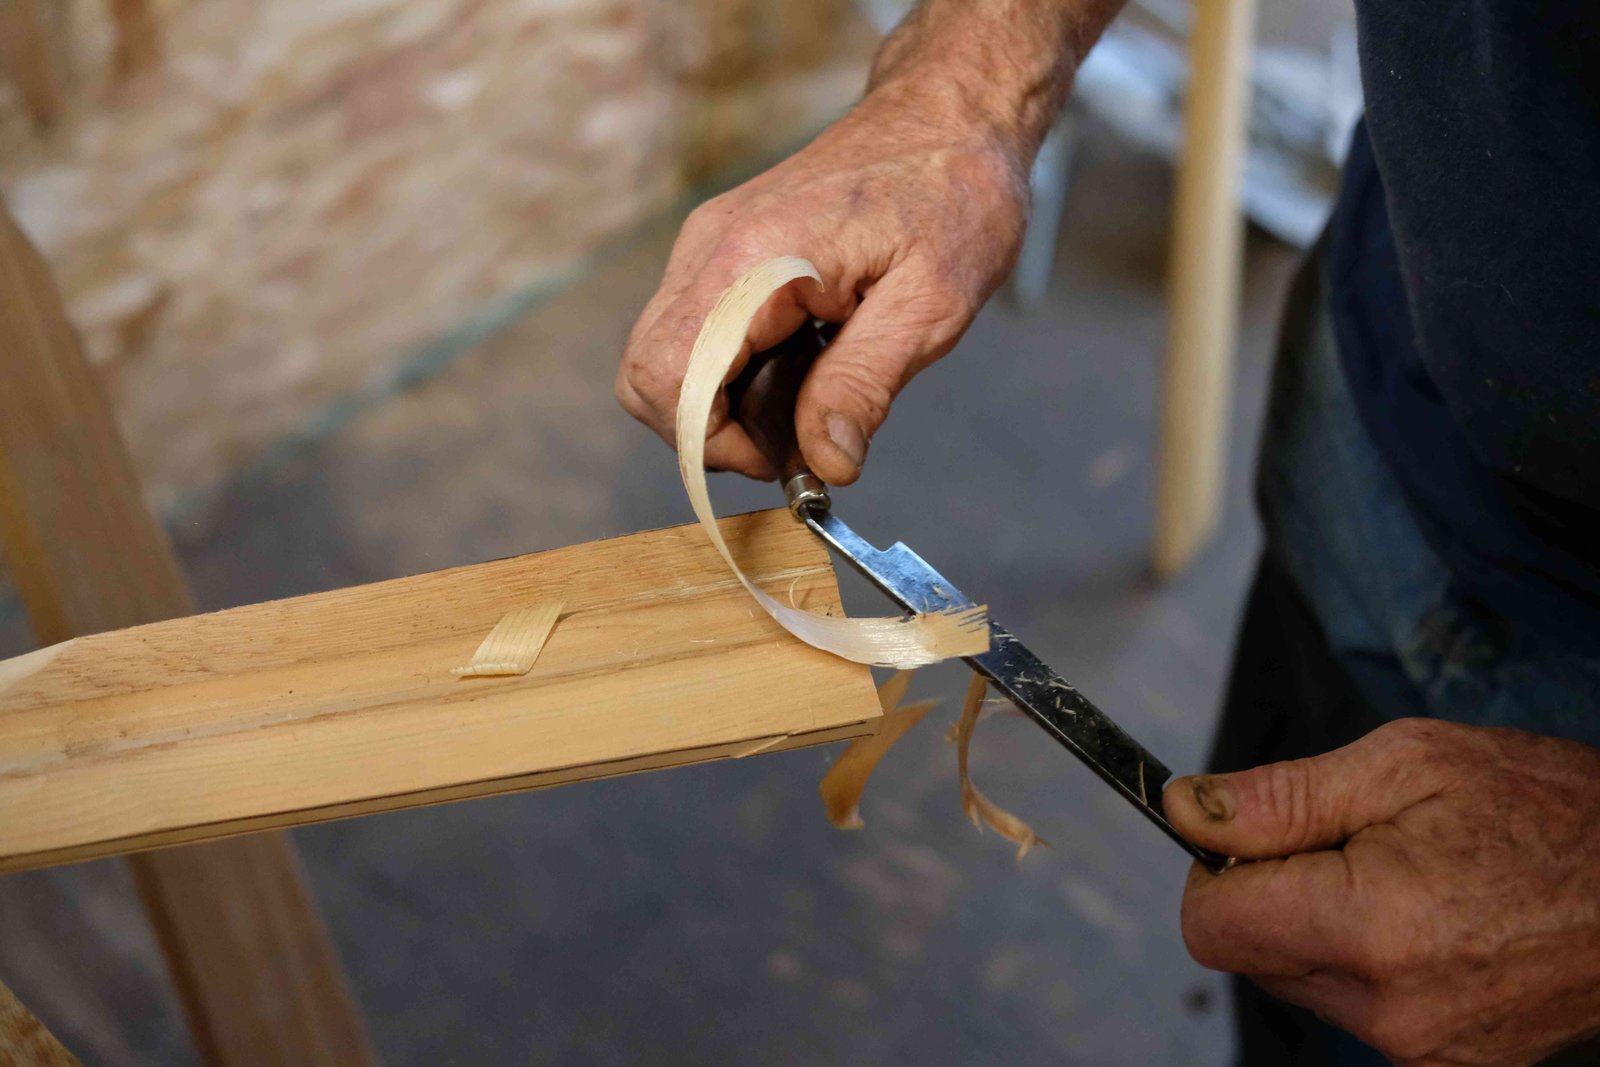
Using a drawknife, or a spokeshave cut a flat surface betwen the marks on the back face of the norsaq and the nearest marks on edge, as shown.
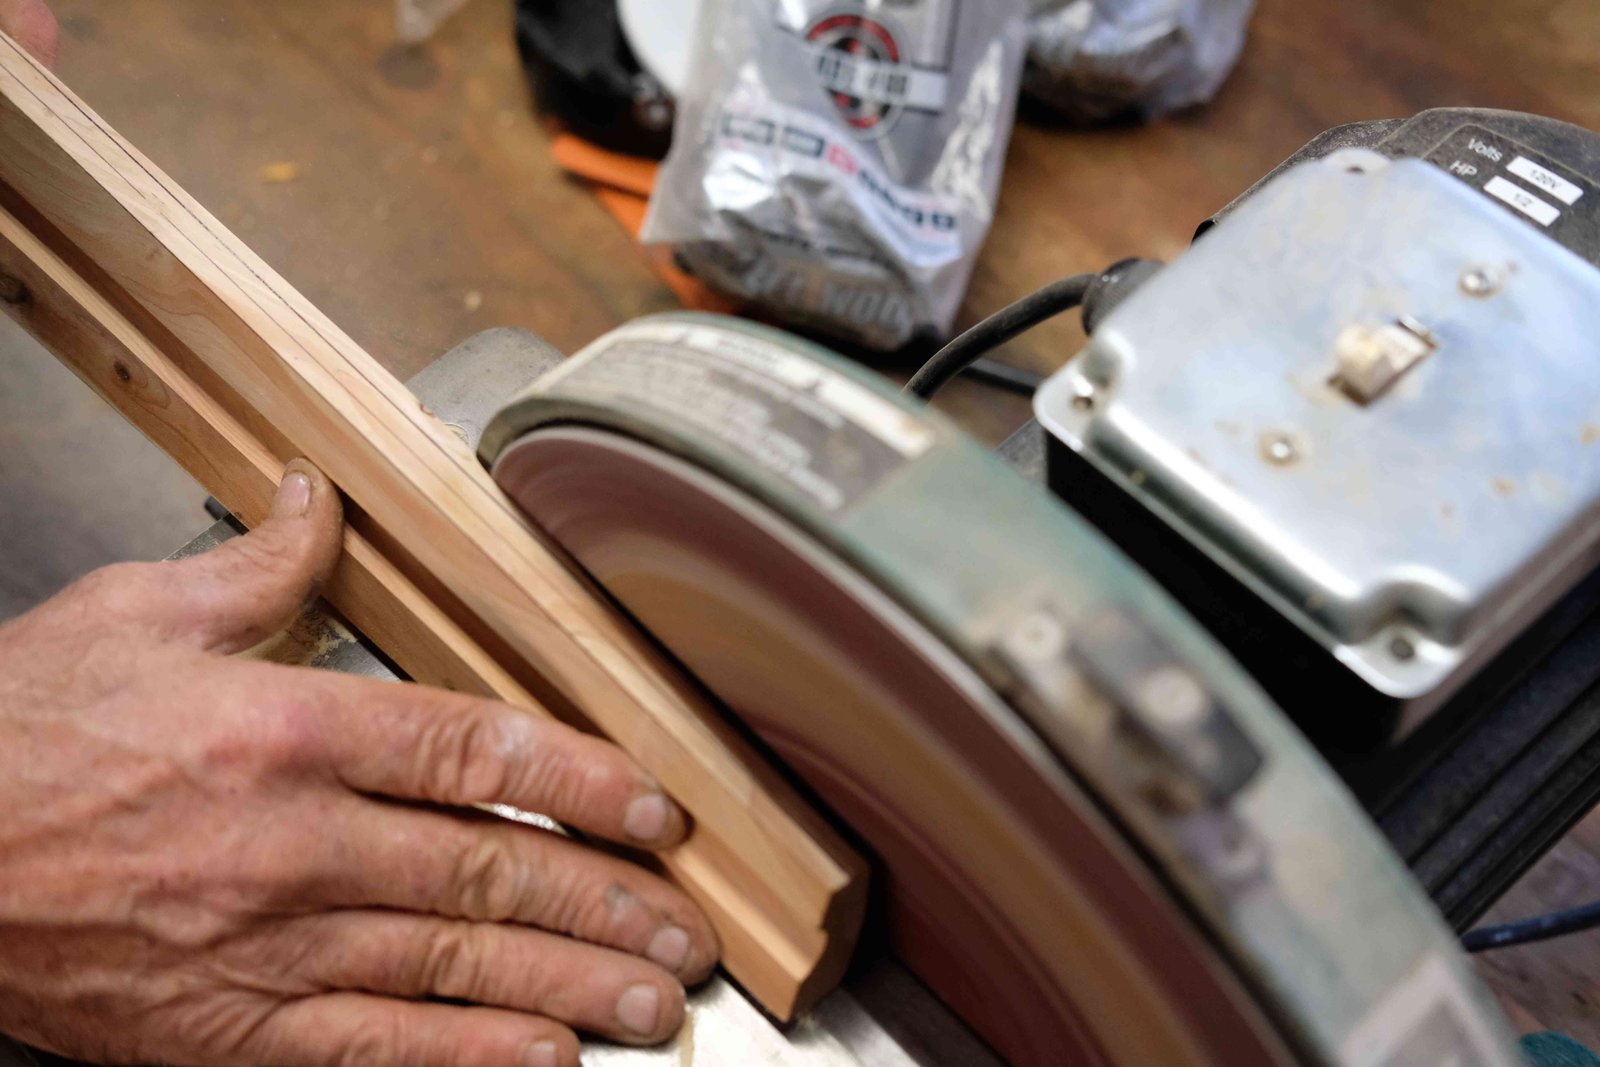
Hardwood norsaqs, particularly if they feature interesting or aesthetic grain, are easier to shape with sanders. In these pictures, Don sands the first facet into a chestnut blank. Otherwise the process is the same.
Whether you're using edge tools, or a sander, repeat the process on the front of the norsaq. cut from either of the remaining edge-lines to the center channel. Then go over the rough surfaces with a blockplane to clean them up and erase any remaining pen marks.
Now it's time to lay out the handgrip. The first picture illustrates a conventional layout, with offset semicircles cut for the thumb and pointer fingers. The template in the second picure produces a norsaq that works equally well in the right or left hand.
With the grip laid out, cut it with your tool of choice. A drawknife will work—subject to earlier caveats—or a scrollsaw if you've got one. The finishing touches: sanding and oiling are left as an exercise for the reader.