Return of a Familiar Kayak
A recognizable old kayak returns to SSTIKS after 25 years.


A few months ago, I was lucky to get ahold of a somewhat famous old kayak. Not the sort of rare old specimen better known by its museum catalog number (e.g. Lc.148), but nonetheless a recognizable thirty-year-old kayak that has inspired many to embark on the quixotic and rewarding project of building, paddling, and rolling their own Greenland-style skin-on-frame kayak.
In fact it played such a role for me, as the first Greenland kayak that I can remember seeing, or reading about. The kayak in question was the first of two built by Chris Cunningham for his book Building the Greenland Kayak (2002). And if you have a copy of the book, some of the pictures that follow may look familiar—not least from it’s cover.
The Cunningham kayak (hereafter, for lack of a better name) appeared at the first SSTIKS in 2002, and a number of other symposia that existed then, before an unlucky harpoon was thrown through its foredeck. After which, the skin came off, and the frame retired to dry storage. (We have learned something in 25 years, and our practice harpoons aren't sharp enough to do this, today.)
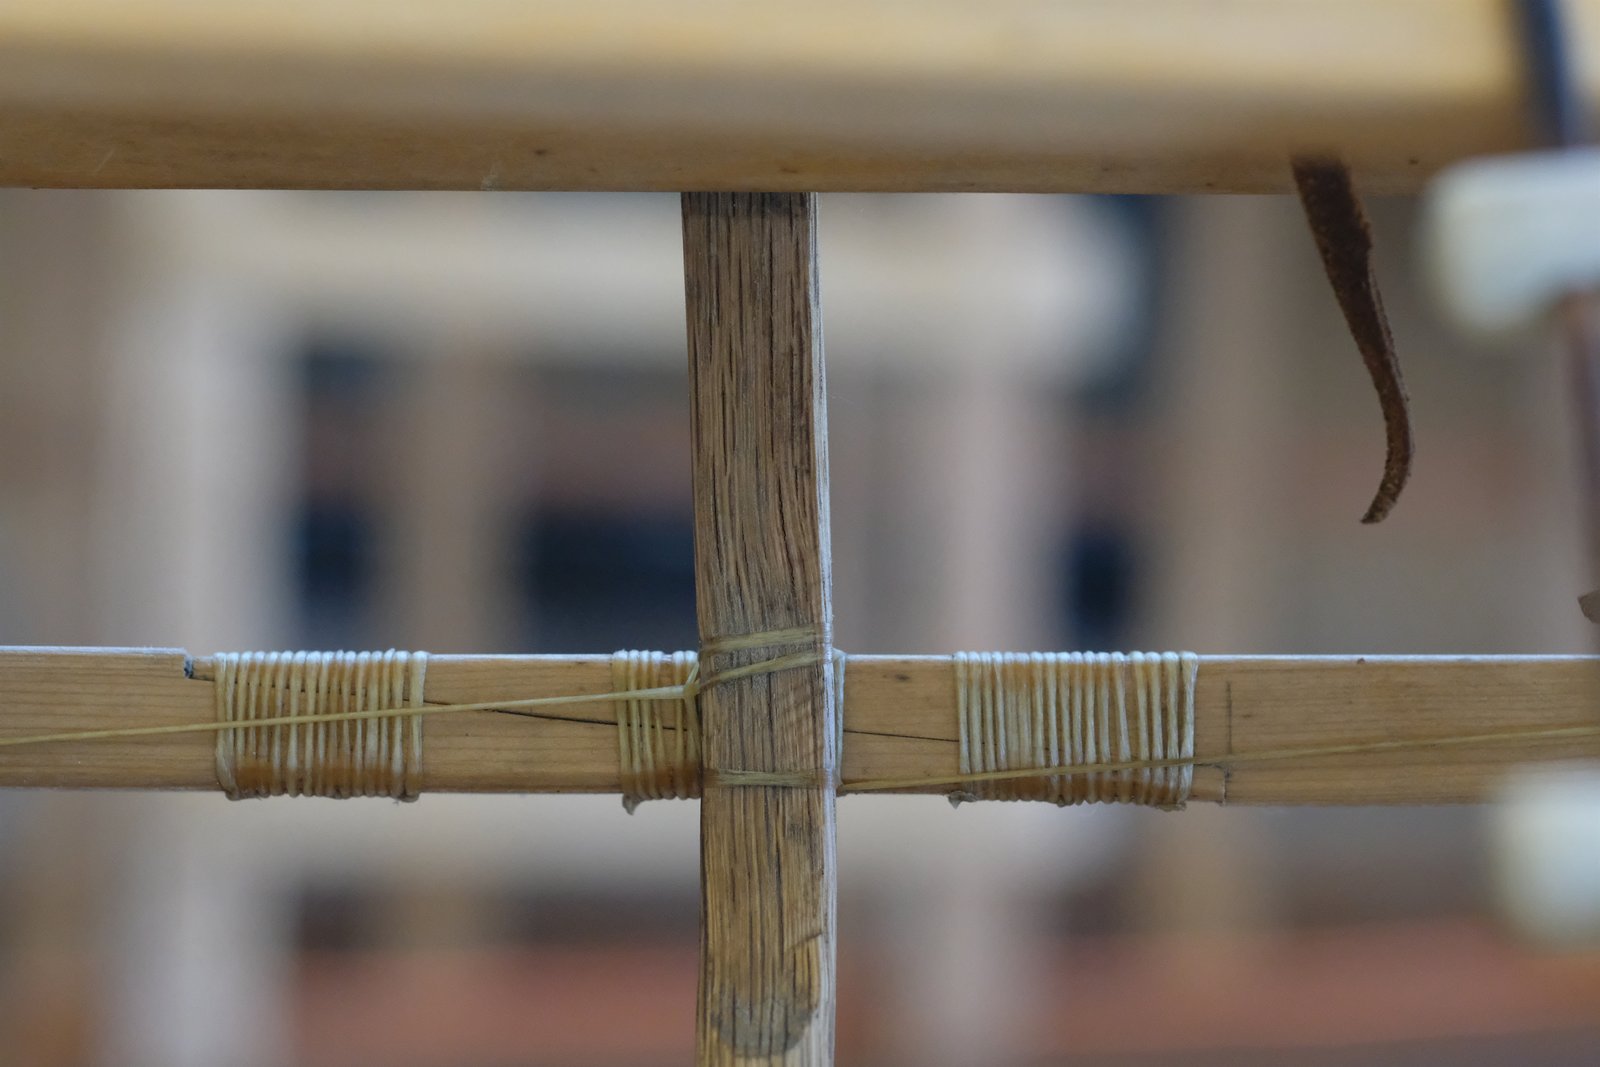
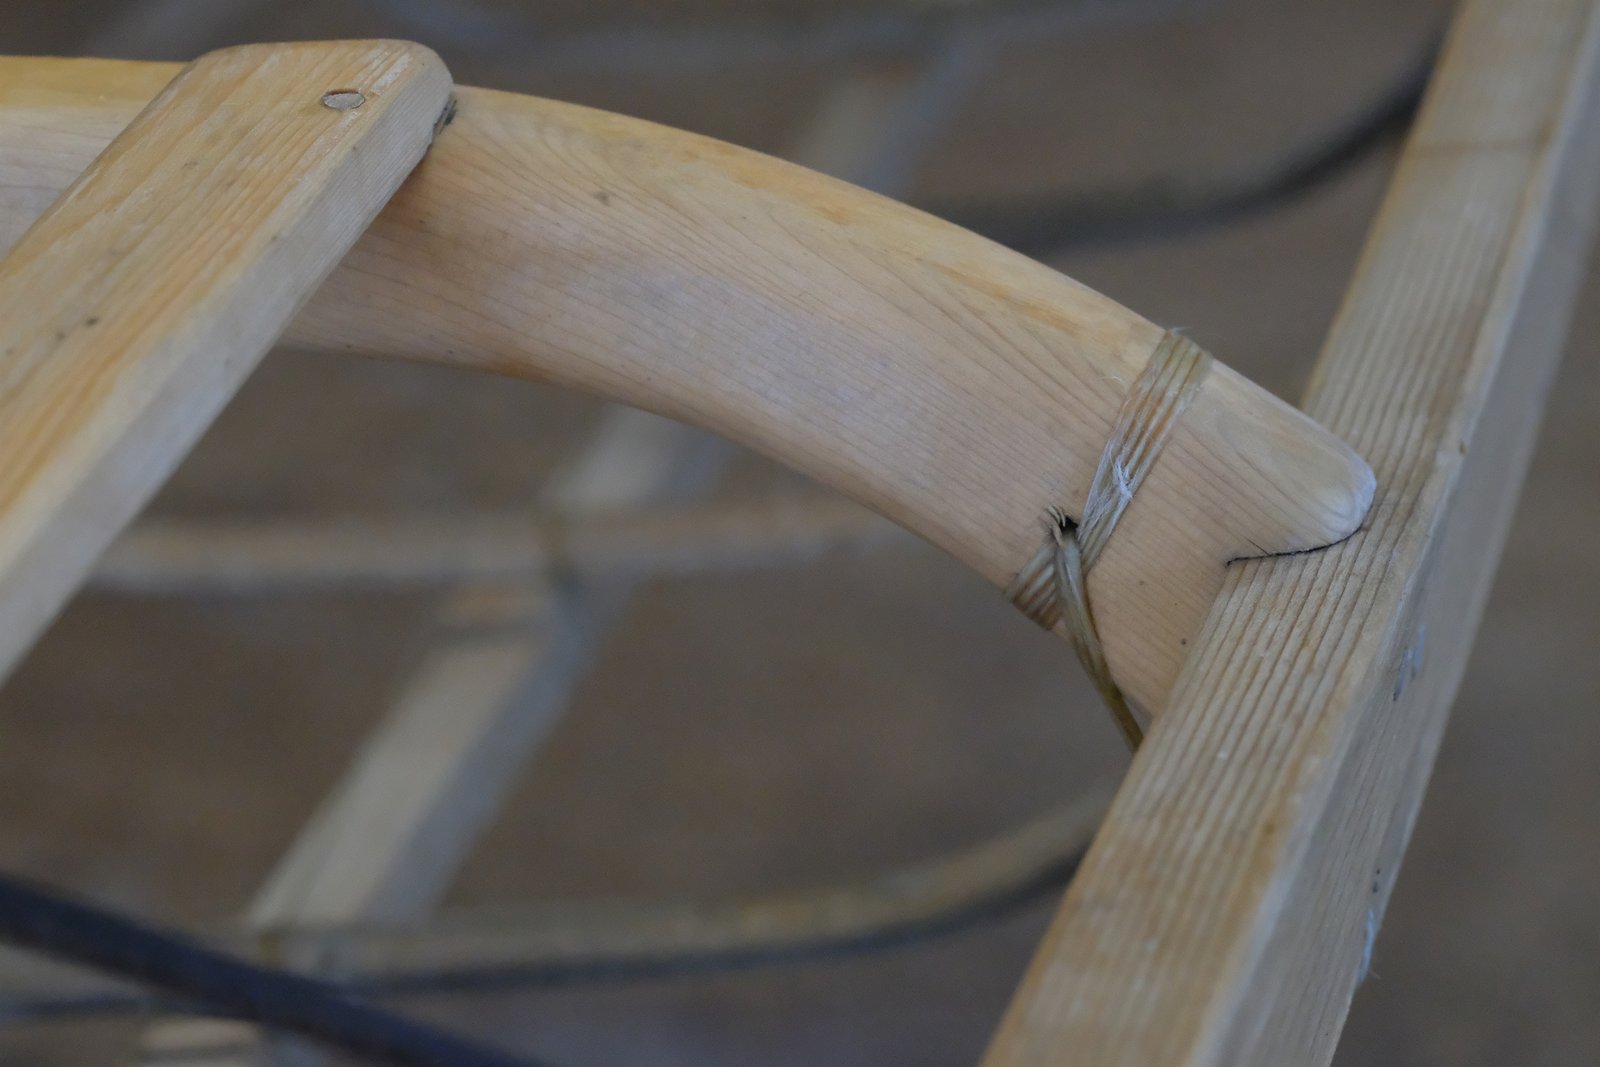
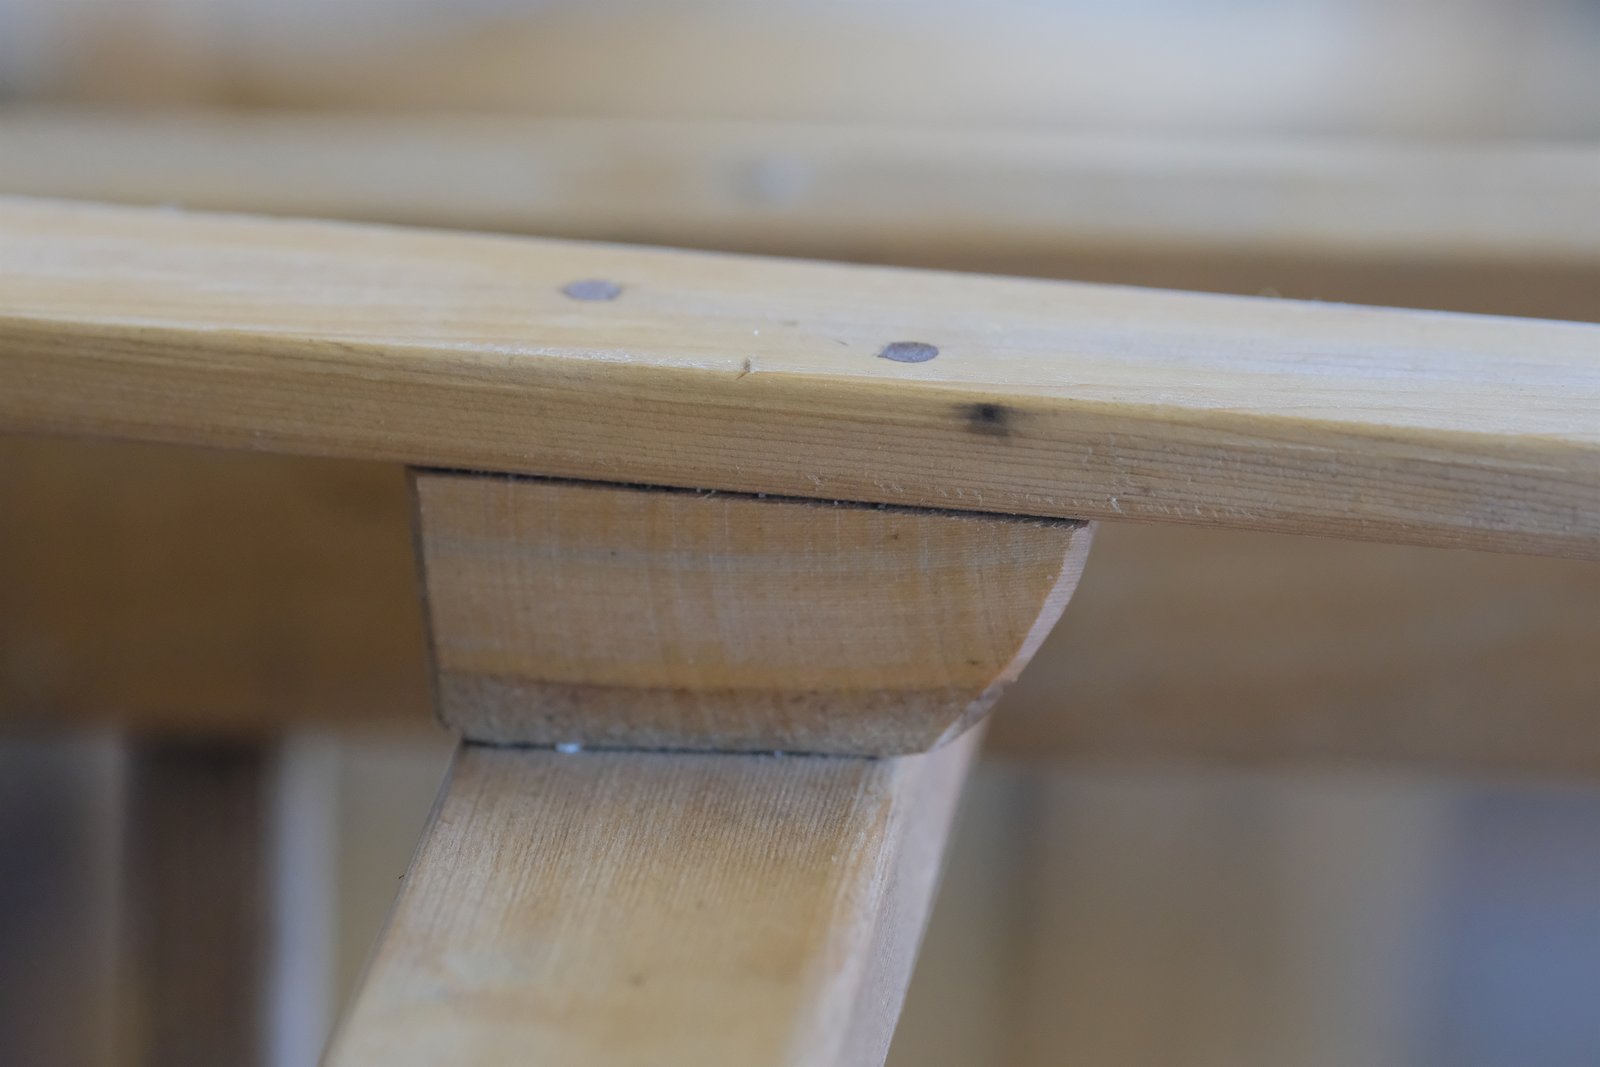
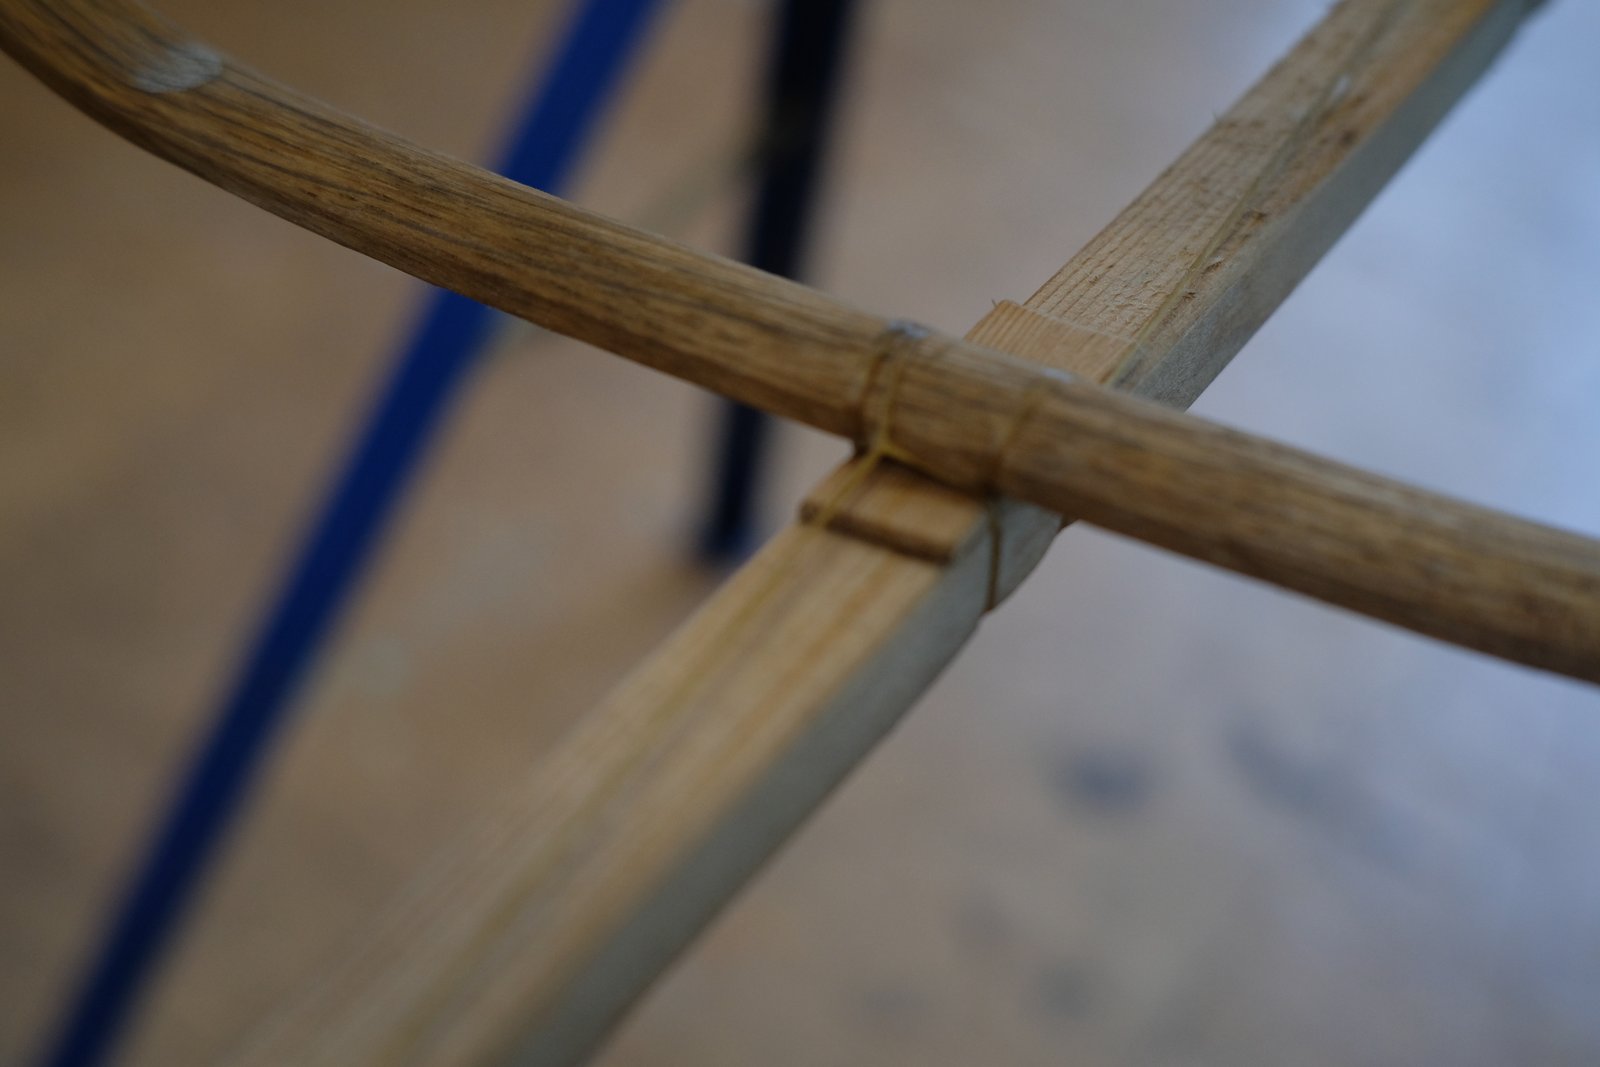
Further on, I will write a little bit about re-skinning the kayak, its return to SSTIKS, rolling it, misadventures at Cape Flattery, and other highlights of its so-far brief afterlife, but first a few details of the frame, which I think shows up well in photos and is as inspiring today as when the book came out, more than two decades ago.
Construction Details
The New Skin
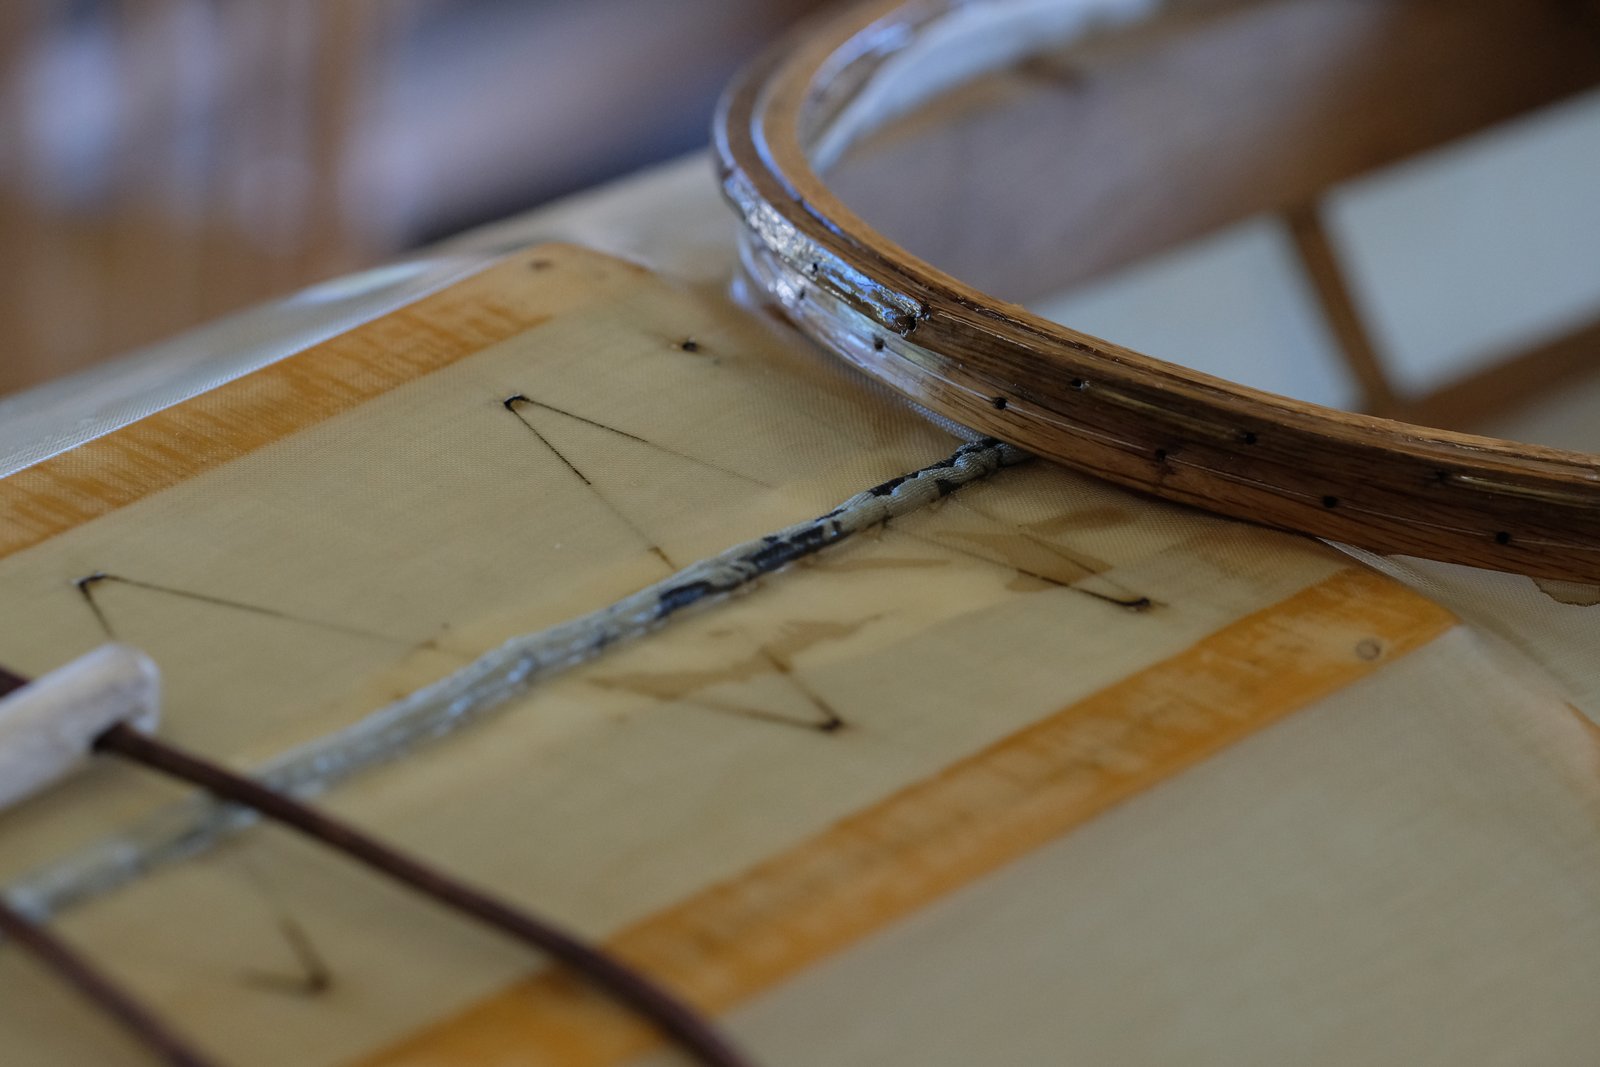
When I picked the kayak up from Chris, its old skin was long-gone. I considered following the skinning instructions from his book, for a result that would more closely match the old photos. But time was tight, and I decided to use methods that I was already familiar with, instead.
The skin is the 8.4oz "x-tra tuff" nylon from the late Corey Freedman's Skinboat Store. I used #9 tarred seine twine to make an initial tensioning pass (the triangles that pass underneath the center seam). Thus far, pretty much the Cape Falcon formula. Thanks, Brian!
The center seam itself is more challenging to describe, but you can read all about it in the Morris book. Where I live it’s easier to get fishing line than thread, so that’s what I’ve been using to sew up kayaks. The Dyneema stuff is easy to work with, and is many times stronger than needed.
I coated the skin with spar varnish. Corey's Goop remains undefeated as an attractive durable coating that's quick to apply and doesn't require elaborate ventilation protocols. But it yellows in UV light, so for a light semi-translucent coating, varnish is a better—albeit noxious—alternative.
Decklines and Fittings
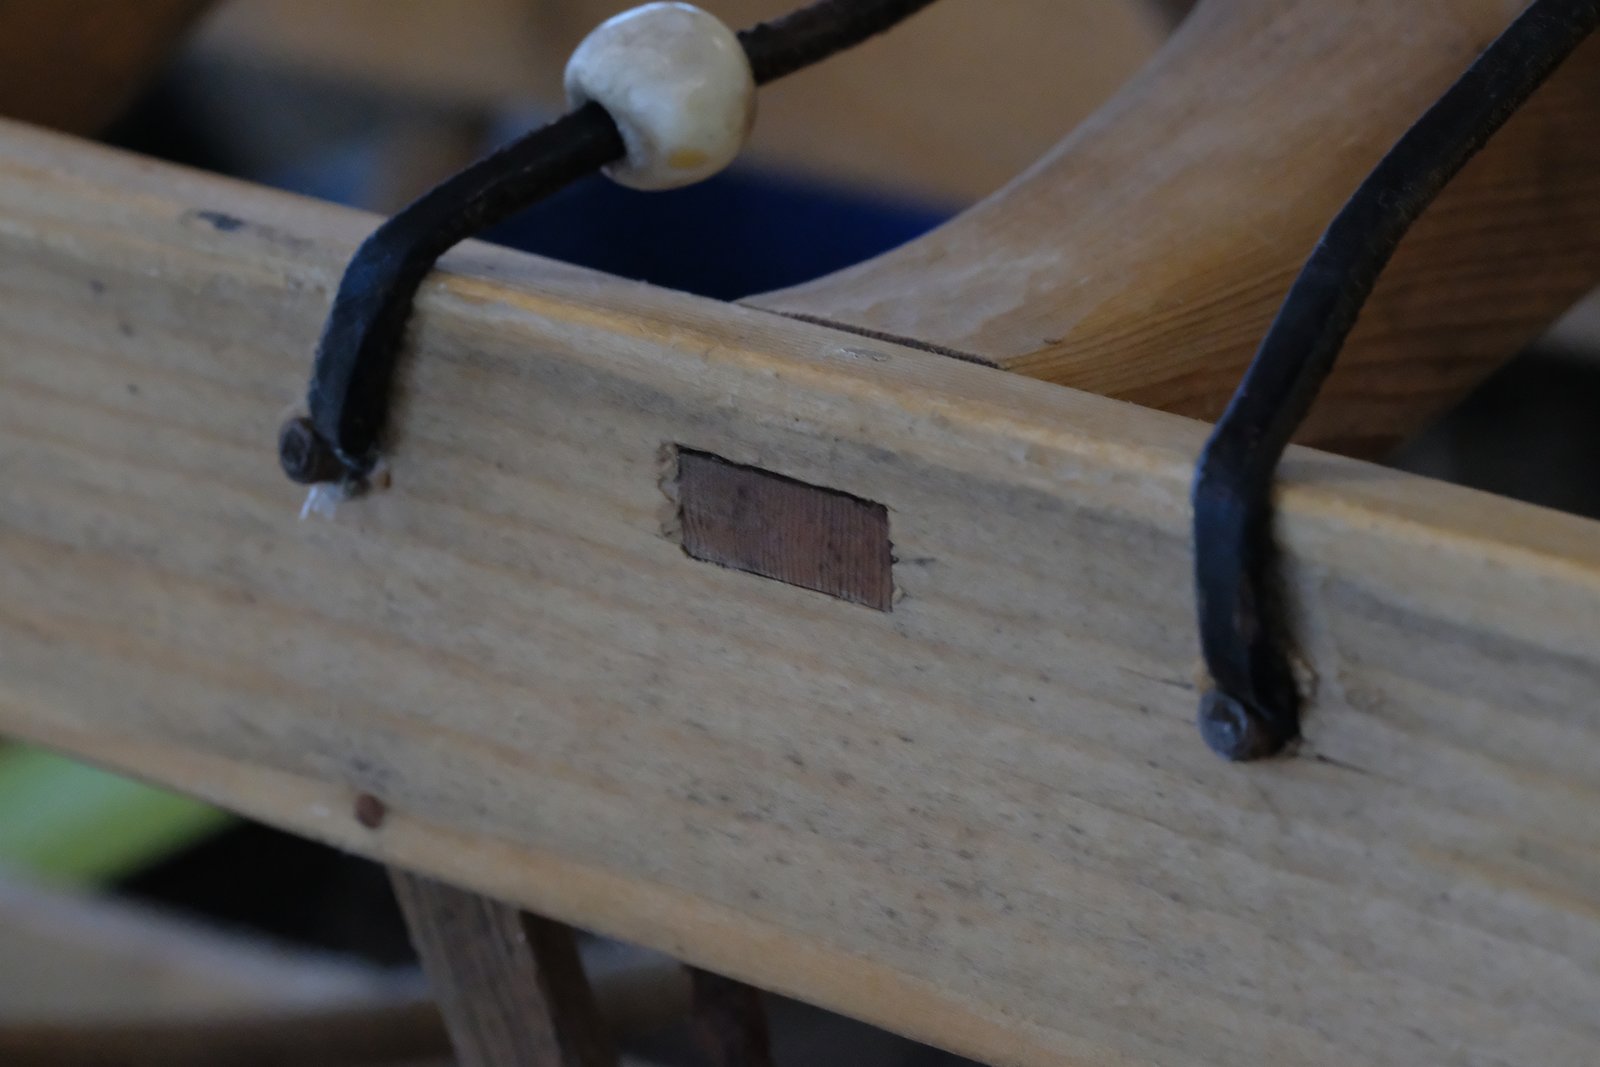
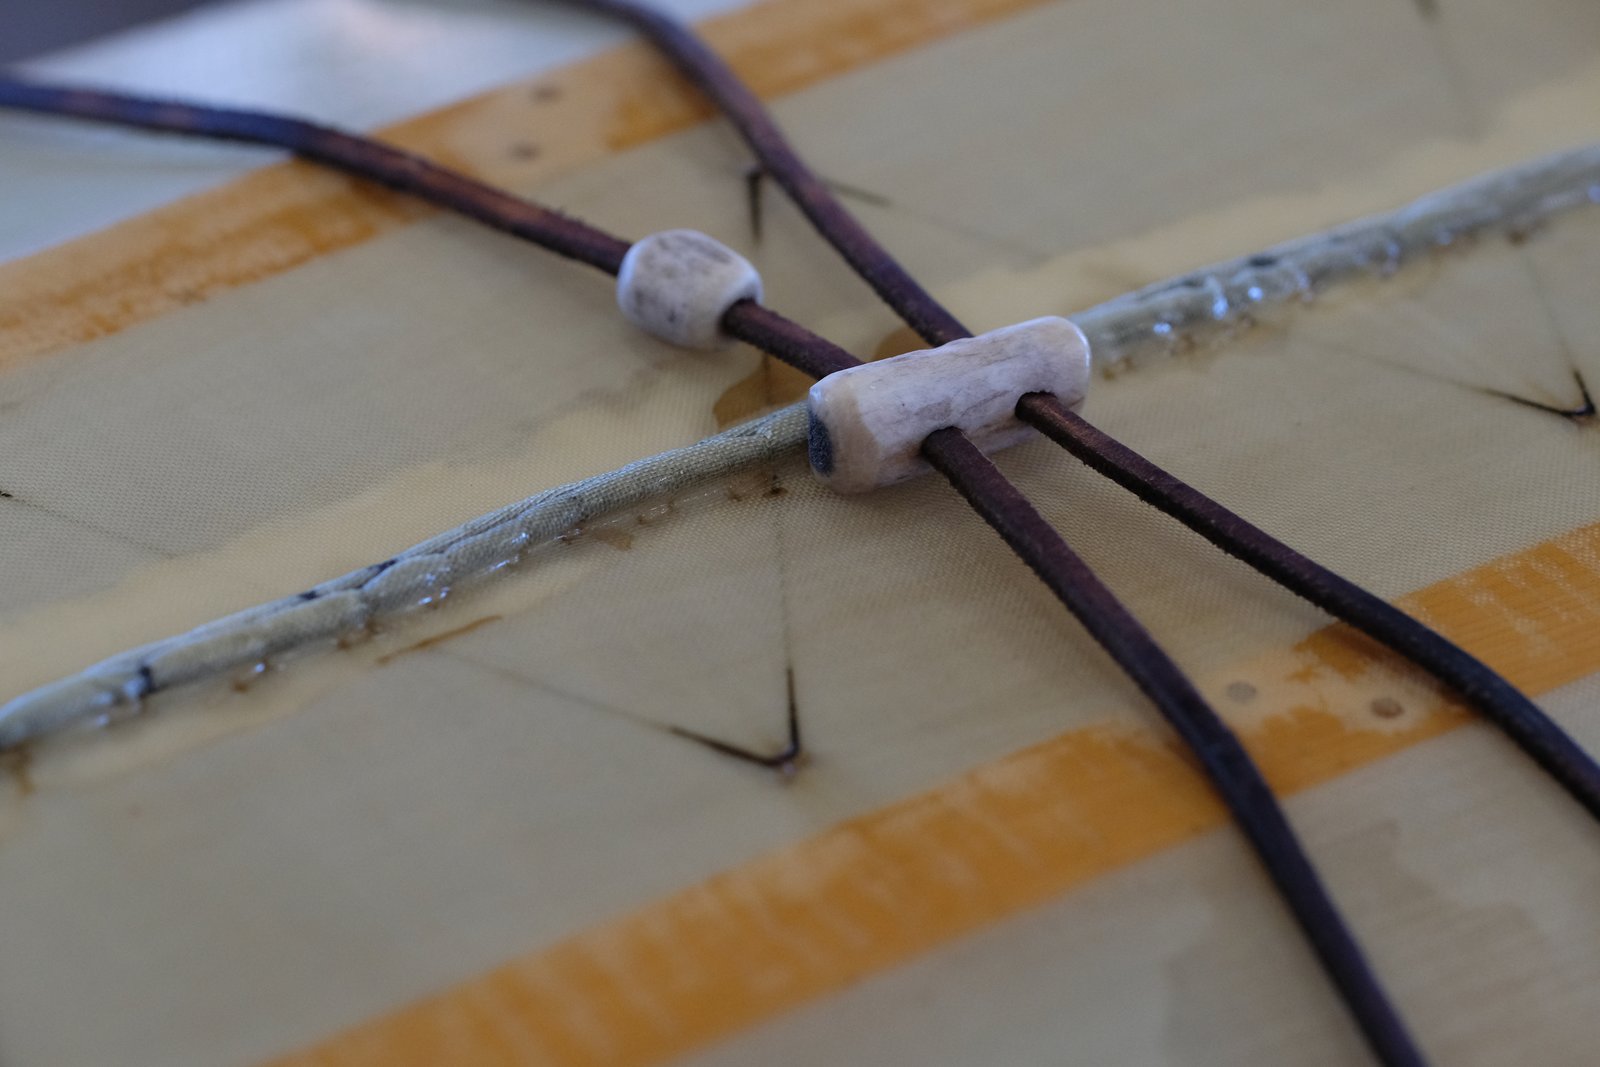
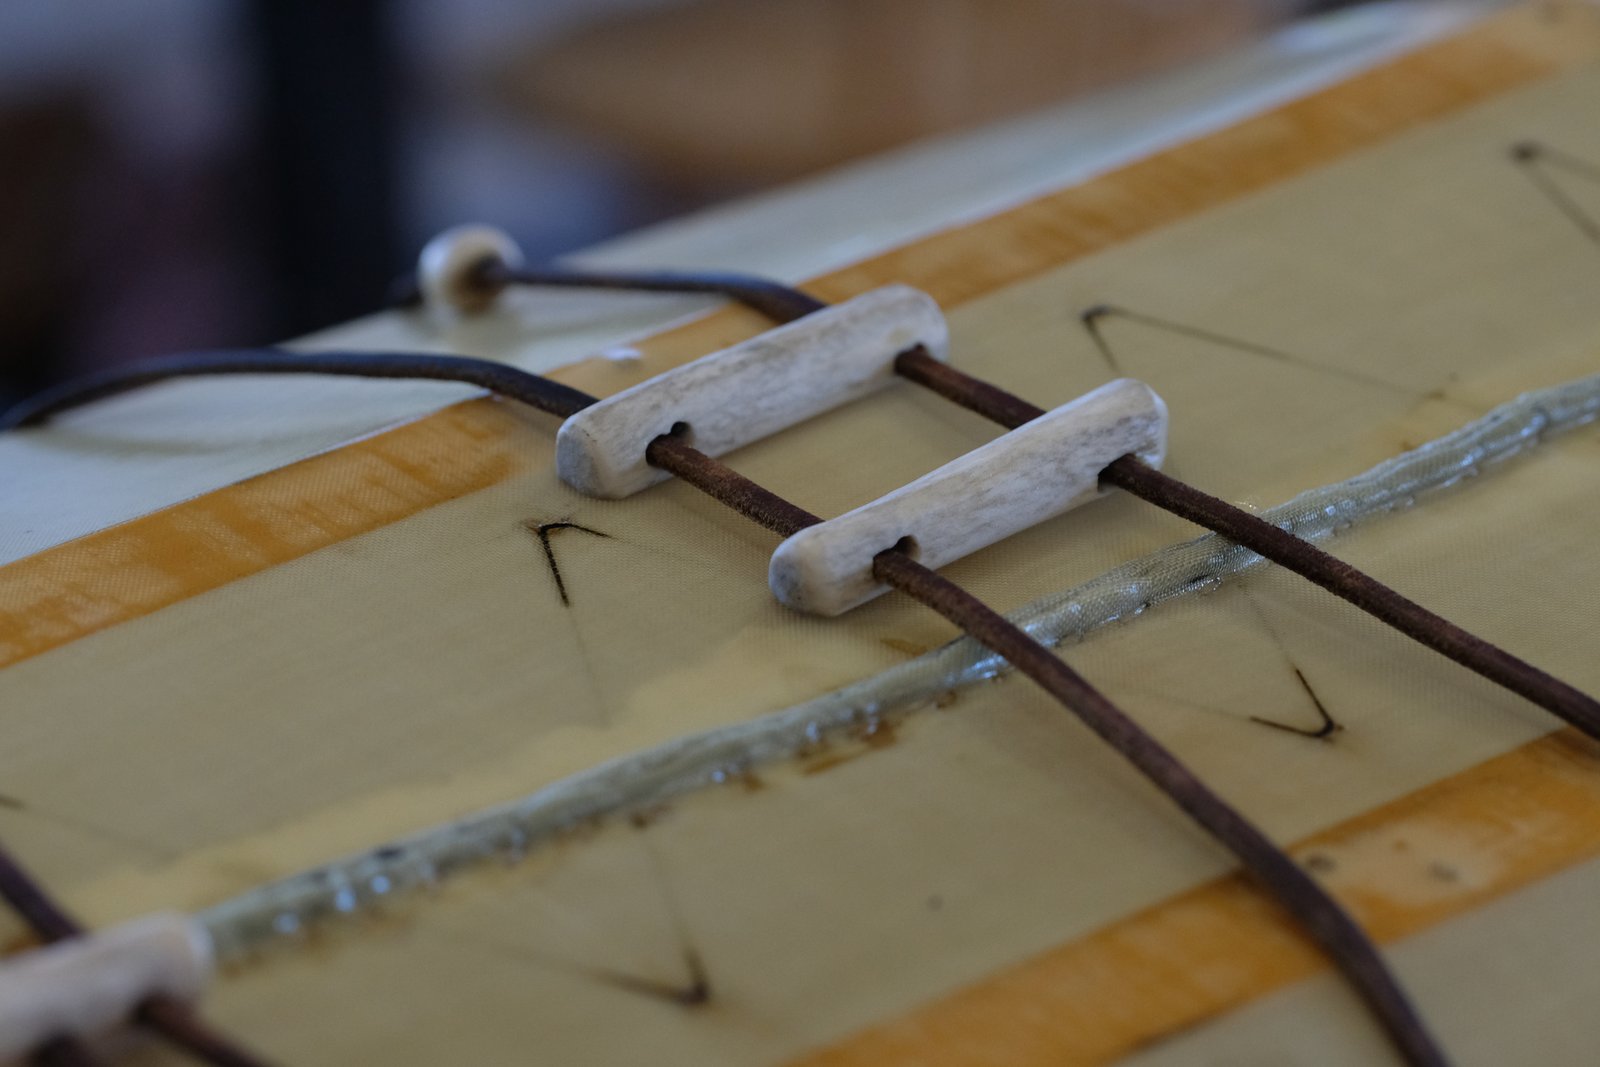
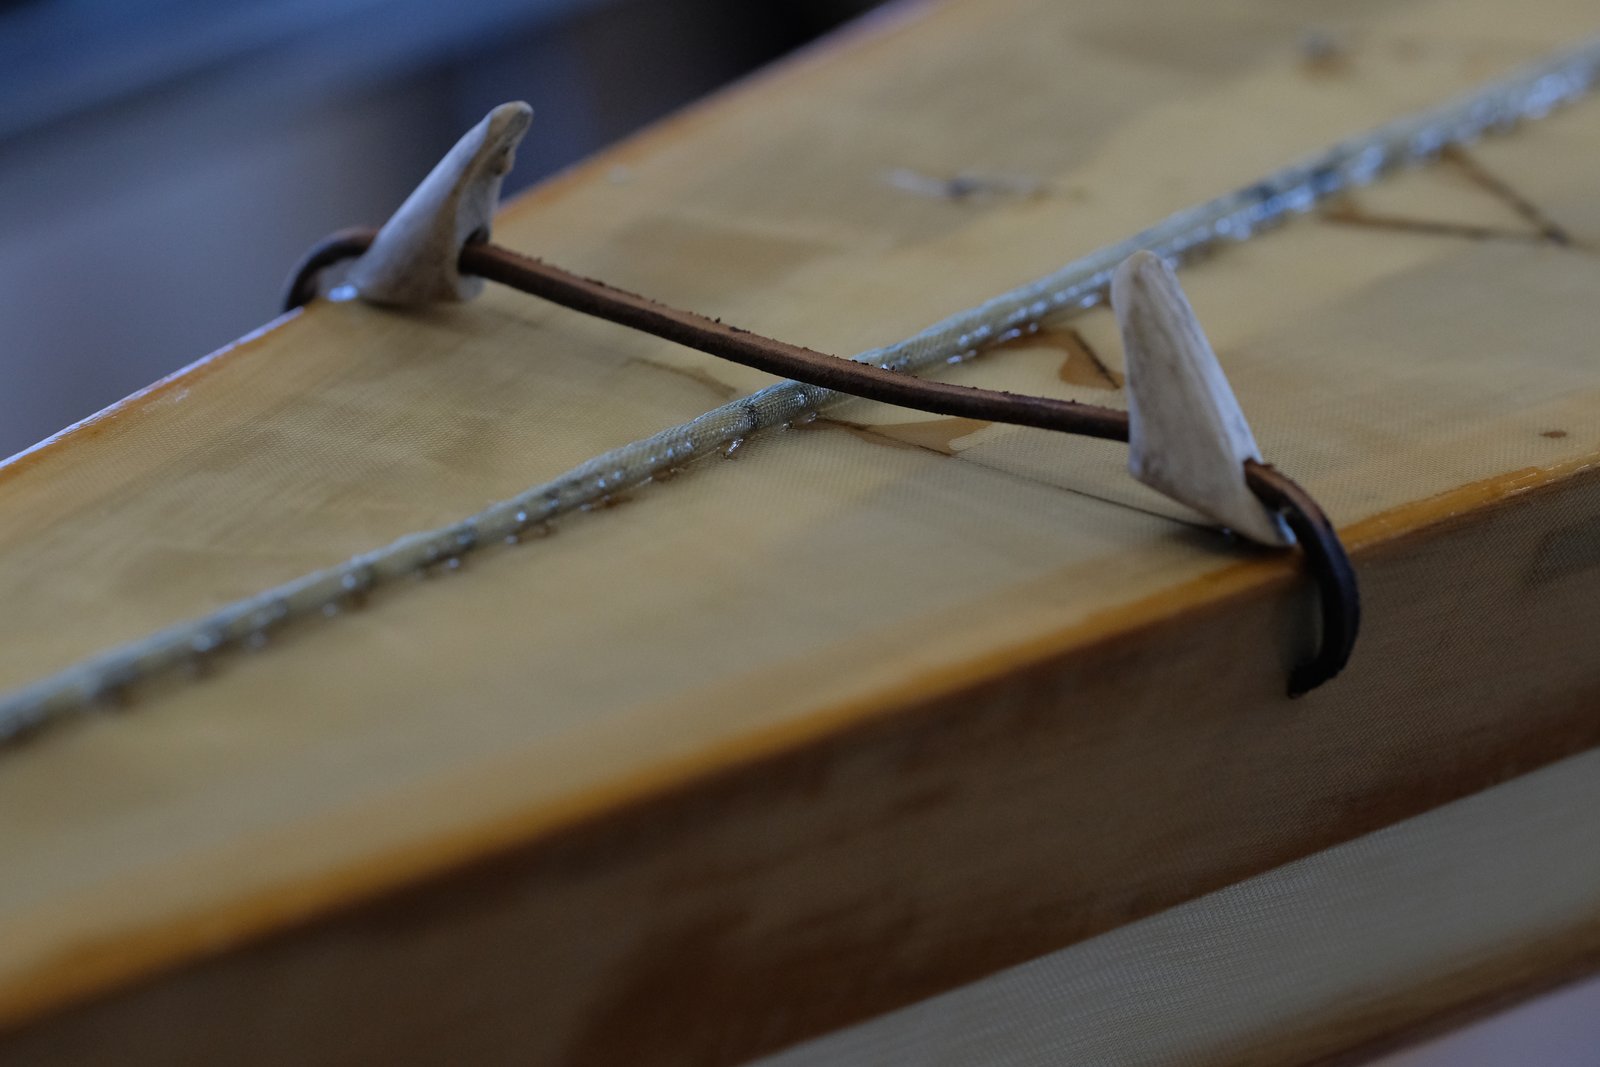
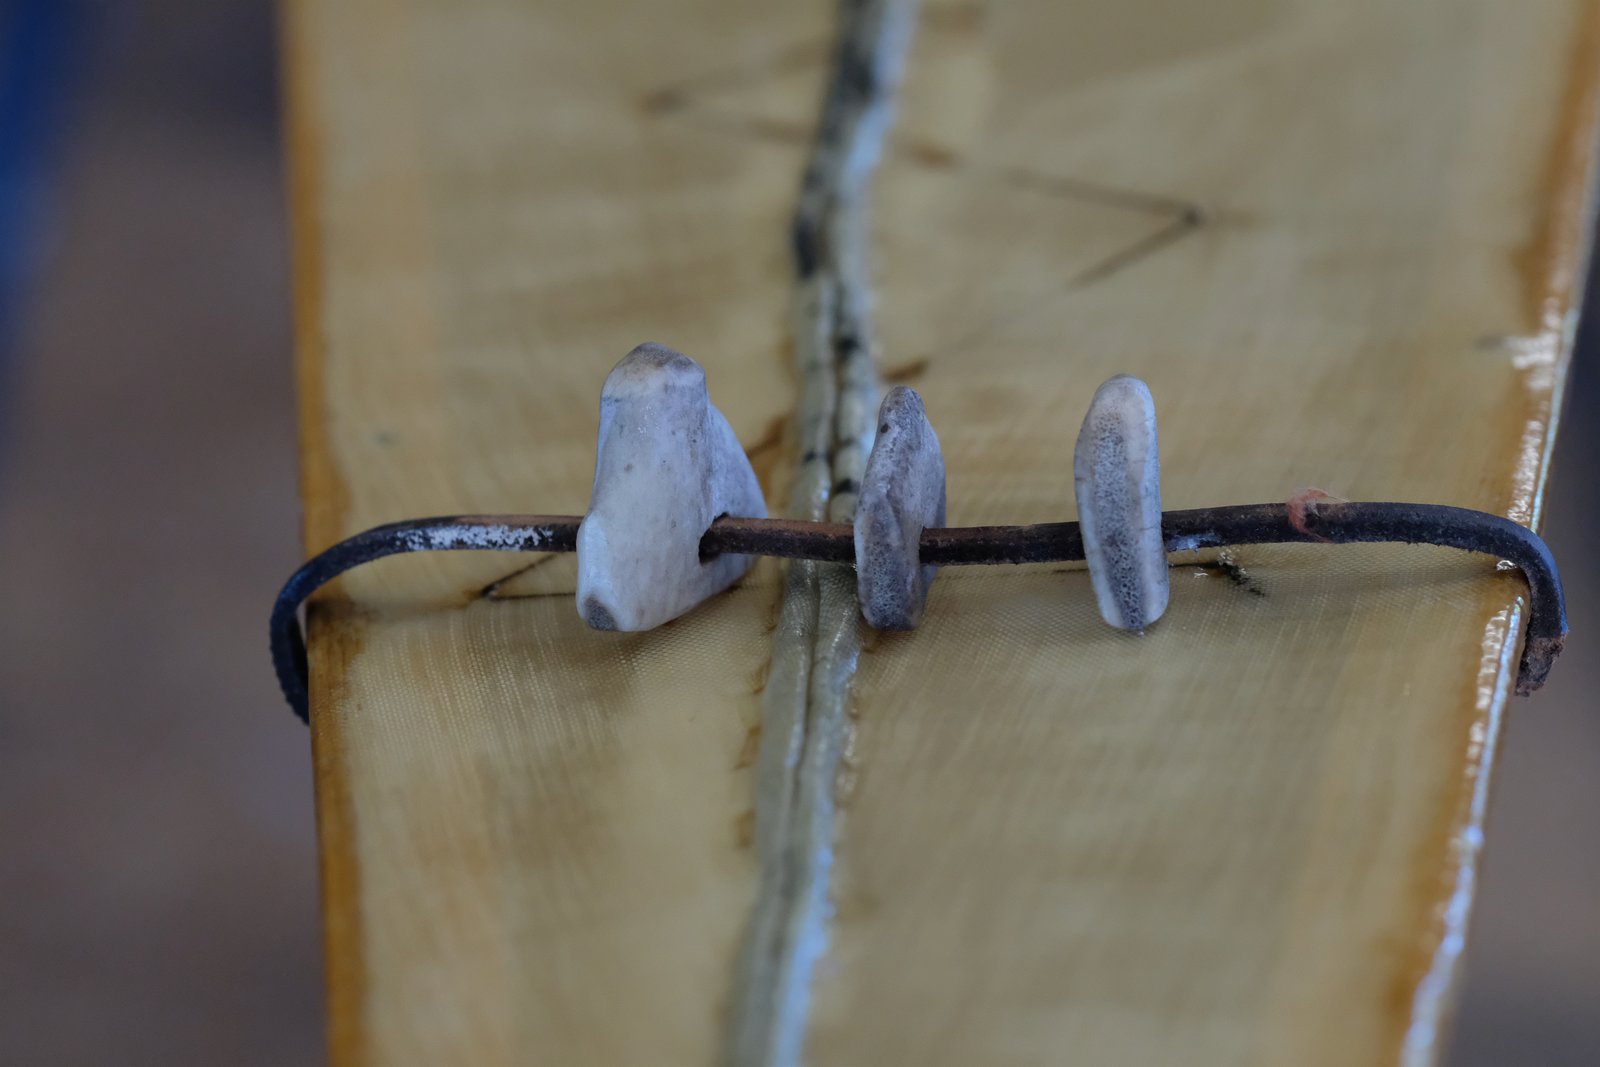
The kayak came with its original decklines and fittings. Today's production kayaks feature a dog’s breakfast of elastic shock cord, skeg controls, and perimiter lines. Traditional rigging, by contrast, is both aesthetic and a delight to use.
The little pieces of carved bone and antler are often the first thing people notice. The antler seems to suggest something about the qajaq's pedigree as a hunting tool. One imagines a deadly struggle between man and beast, each fighting for grim survival, alone in the freezing arctic. The truth is that it comes from Petco.
Back on the Water
With the new skin sewn on, seven or eight coats of varnish built up and seemingly dried—though likely still emittting harmful vapors—I raced down to the water, one morning before work, to try my newest roll.
SSTIKS Mentor Vadim Shayevich had let me in on the secrets of the underhull sculling roll a few weeks prior, at Qajaq Camp in Minnesota. But I wasn't sure if I could still do it, and really had no idea how this kayak would feel in the water—what if I didn't like it? Wouldn't that be disappointing.
Well, I needn't have worried: the old kayak seemed to remember exactly what to do.
Qaannap ataatigut ipilaarlugu. The underhull scolling roll.
From there it was back to SSTIKS, where a new generation of mentors and participants had the opportunity to try it out for themselves. And who knows? Maybe another one will turn up next year—the book is easy enough to get ahold of.